 Cabinet


 (0)
(0) 2611
2611Gel nail extension - technology on forms and tips

Galina Tischenko
KODI PROFESSIONAL International Instructor Trainer
What are gel nail extensions?
Nail extension technologies have provided an opportunity for everyone who dreamed of long, beautiful nails, intricate patterns and designs to finally realize the dream. Modern methods of nail extensions allow you to carry out this procedure not only in salons, but also at home. It is enough just to buy accessories to implement the build-up and master the technology itself.
Gel nail extensions allow you to create artificial nails of any length and shape, correct them, work both in the salon and at home. Gel nail extension technique has such advantages:
- Short duration of the build-up process.
- Hypoallergenic material.
- The material hardens under the influence of ultraviolet lamp radiation, which makes it possible to correct the shape of the nail until the desired result.
- Gel does not have a negative impact on the natural nail plate.
- The material does not have a pungent odor.
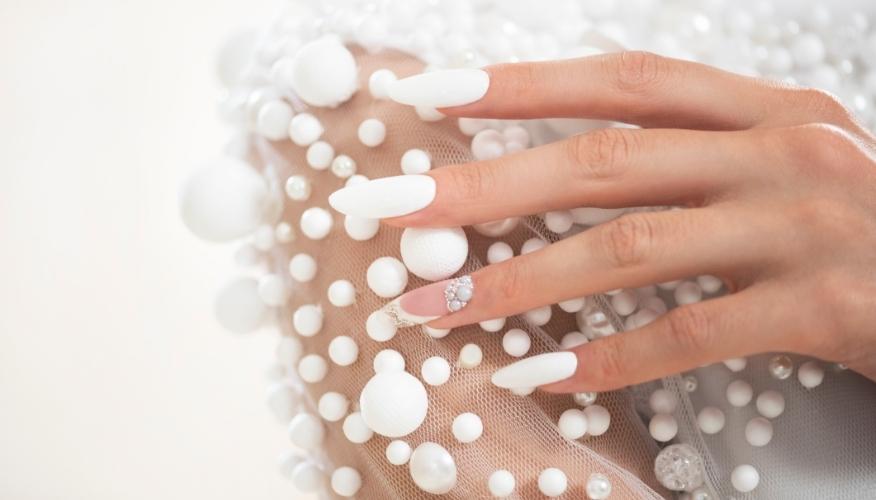
- Gel nails look natural.
And this is by no means a complete list of undeniable advantages of the procedure.
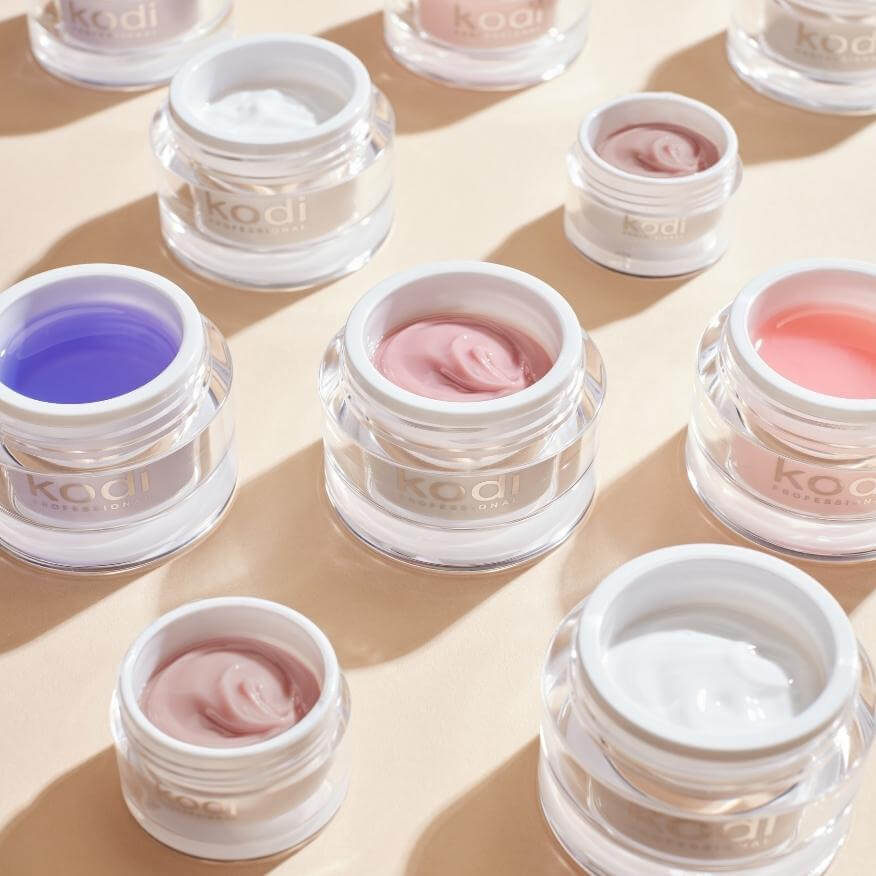
Types of nail extension gels
Gel nail extension materials are divided into several types. These are UV gel, biogel and Led-gel. Gel nail modeling systems are divided into one-, two- and three-phase.
- In a single-phase system, the modeling process is carried out by a universal means that combines the functions responsible for the strength of the attachment of the nail extension on the natural plate, as well as for the modeling of the artificial nail itself.
- Two-phase build-up system is based on the use of two types of gel, the first of which is responsible for fixing the artificial nail on the nail plate, and the second for its modeling.
- Three-phase system involves the use of three types of gels: the first to ensure the adhesion of the future nail with the nail plate, the second to form the artificial nail itself, and the third to protect the nail from external factors and give it proper smoothness and evenness.
To answer unequivocally, on the question of what gel for nail extensions is the best or what system of extension (one-, two- or three-phase) to choose, it is quite difficult. Each build-up master has his own preferences, focusing on the quality of the result and the cost of materials.
How to choose gel for nail extensions?
The choice is so great that it is difficult to decide which gel to prefer, especially for beginners. So, what are the best gels for buildup? In order to decide on the choice of material for the build-up, you need:
- To find out maximum information about the brand whose gels you like. Such large manufacturers as KODI PROFESSIONAL have their own website, where you can find any information you need about the gel.
- Pay attention to whether your chosen gels have instructions with recommendations for their use.
- Look for reviews on the use of materials that you plan to buy.
- Determine what exactly you expect from the gel, what you need: colored or transparent, how many gels you need and so on. The range of brand KODI PROFESSIONAL has a lot of new generation gel systems that will accelerate and qualitatively improve your work.
Guided by these selection criteria, you will be able to buy a good gel build-up.
What do you need for gel nail extensions?
A list of what materials are needed for gel nail extensions:
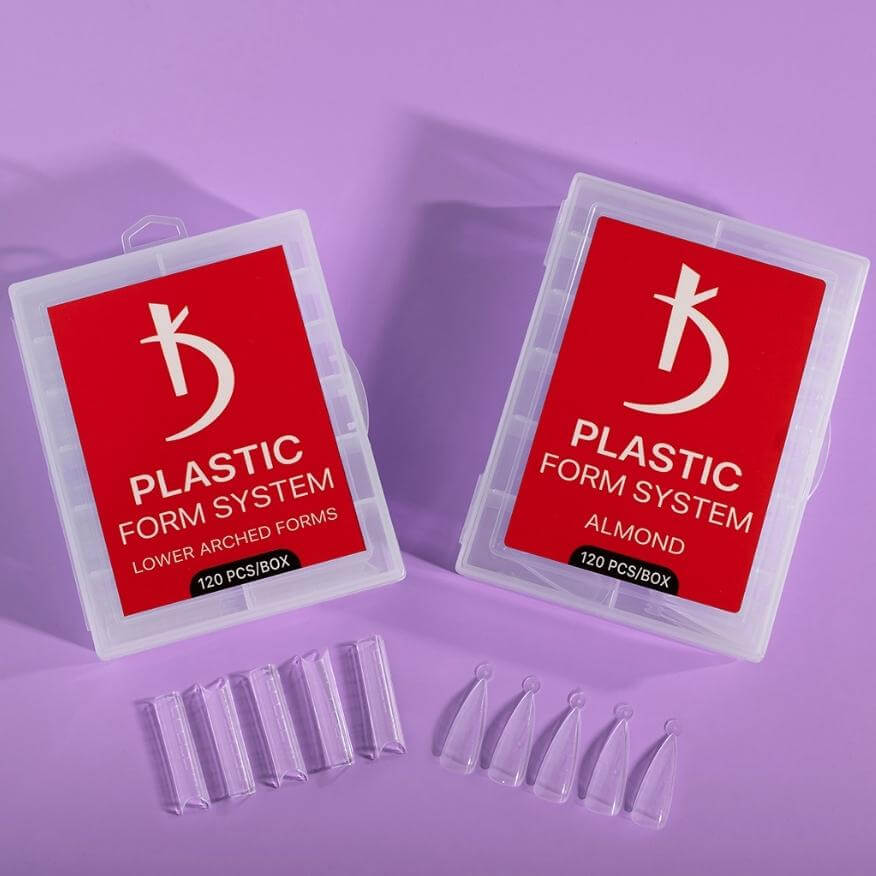
- Tips or molds, depending on the build-up method.
- Ultraviolet lamp. This equipment is necessary for gel solidification.
- Directly gel for extension.
- Disinfectant.
- Means for removing the sticky layer.
- A set of files or baf.
- Orange stick.
- Flat brush.
- Primer.
- Polishing pad.
- Tweezers.
- Glue for tips, if they are used as an extension method.
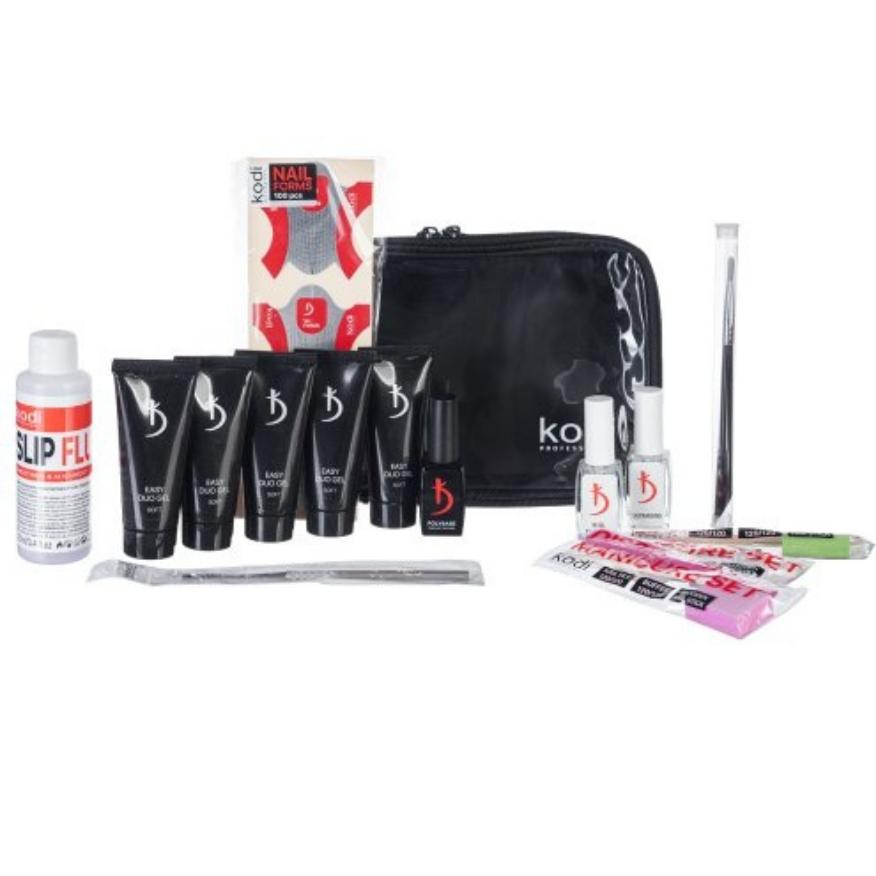
All these tools for nail gel extension can be purchased individually or in ready-made (basic) kits, which contain everything a beginner will need. Often ready-made sets are used and experienced masters, if necessary, replacing or expanding the number of materials and tools in them.
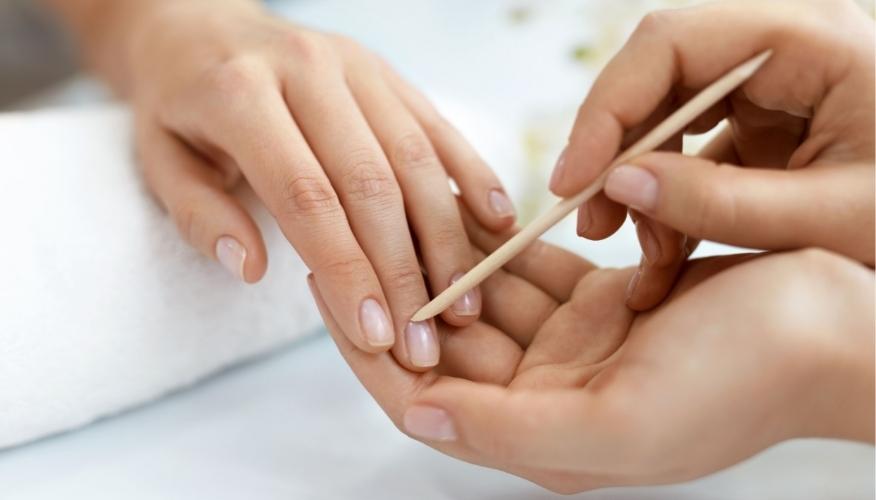
Step by step instructions for gel nail extensions
Step-by-step nail extension with gel is carried out as follows:
- Natural nails are treated with antiseptic. The surface of the nails before starting work should be absolutely dry.
- The cuticle is pushed back with an orange stick.
- Natural nails are filed. If the build-up is carried out with the help of tips, the nails are filed under the chosen shape of this tool.
- Buff from the surface of the nails is removed gloss. Nails are again treated with antiseptic.
- The size of tips or molds is selected, depending on how the build-up will be carried out.
- Gel is applied to the tips or form, modeled length and curve.
- The result is dried in a UV lamp. The sticky layer is removed.
- When everything is ready, the cuticle is treated with softening oil.
By following this sequence, you will get a flawless result of gel nail extensions. Gradually you will acquire the proper skill and experience, due to which the process of extension will take less time.
Gel extensions on tips
Nail extension is carried out in two ways: on tips and with the help of molds. Gel nail extension on tips is carried out in the following way:
- Before starting the procedure, a hygienic manicure is performed, nails are treated with antiseptic. They are filed under the chosen shape of tips.
- The glossy shine is removed from the nail surface with a buff.
- For each nail the size of tips is selected. Preliminary nails are re-treated with antiseptic.
- A little glue is dripped in the area of the tipse well.
- The tip is pressed firmly against the nail for at least ten seconds.
- Tippers tipis given the desired shape, file neatly trim its edges.
- The surface of the expanded nail is treated with a baffle.
- On the surface of the natural nail plate is applied primer.
- After the primer dries, gel is applied to the tips. It is dried in a UV lamp.
- Re-applied and re-dried. The sticky layer is removed.
- The surface is degreased and covered with a finishing agent.
- Nails are dried in the lamp.
- The sticky layer is removed again.
- Cuticle is treated with oil for a more well-groomed and presentable appearance.
Gel nail extension on molds
Gel nail extension on molds is made in two ways: on the upper and lower forms. Lower forms are attached to the nail from below. The initial stages of the process are similar to the build-up on tips. There is a hygienic treatment of the nail, cuticle is pushed back, the surface of the plate is degreased. Next are the following stages:
- Apply base coat and dry in the lamp for two minutes. Removal of the top coat.
- Fixing the shape chosen for modeling on the finger.
- Application of gel on the tip of the nail and its drying in the lamp.
- Re-application of gel and formation of the nail curve. Drying and removal of the sticky layer.
- Careful removal of the form and treatment of the plate with a grinder.
- Application of the finishing layer and drying in the lamp. Degreasing.
- Application of cuticle care oil.
- Gel nail extensions on molds
Extensions on the lower forms imply the formation of an S-shaped bend. This step is not necessary for the upper forms, because the shape of the nail is already beautiful and natural. The above step-by-step instructions can be used both for self-building, and in work with clients.
The process of modeling artificial nails on tips and forms can not be called complex. Many girls master these techniques and successfully use them at home. The maximum duration of this process slightly exceeds three hours, but gradually, acquiring skill and using quality materials, the master works much faster. The result of his work is durable, beautiful, natural-looking nails.
Leave a review or ask
a question to the master


